So I'm making this, in hopes that common savs, waters, and albigs, can find their way to a proper setup.
Now, A little background to justify why I've built the way I have.
I'm 24, Living at home with a "wife" and 3 year old son. With our single mother and single 13yr old brother.
Keeping monitors is a LONG term investment, and a large term investment. Seeing as I live at home (not forever) I need to build this enclosure (for my V.A Microstictus, said to max out at 4.5') efficiently for the animal, and have the ability to tear down/rebuild with complete ease. So, call this a DIY: Mobile enclosure.
I've built to the dimensions of 9'8" long, 5' Wide, and going 6' tall.
So that sums it up, young, living at home, mobile enclosure.
So, lets cover a basic material list. I'm using 2x4 lumber for this, and probably 2x6 for the top. Your first step is to draw up your tank on a piece of paper, create a pre measured wood list, and you're off.
- 2x4, 2x6, 2x8, what ever you prefer.
- R12 Insulation, 3.5"
- Copious amounts of 100% clear silicone
- Copious screws
- FRP, Linoleum tile, or alike
- 14/2 Wire
- Some form of sealer. I use Thompson Water Sealer.
- Industrial grade glue gun, and sticks
- Heat gun, or lighter
- Shrink tubing.
I will update materials as I go. But that should get you going on a solid frame. Sweat the details later.
So, Here I have just started the base footprint, Because I am building on a concrete floor, it is crucial to insulate, and or Raise the tank 2-3" off the ground (haven't gotten that far yet)
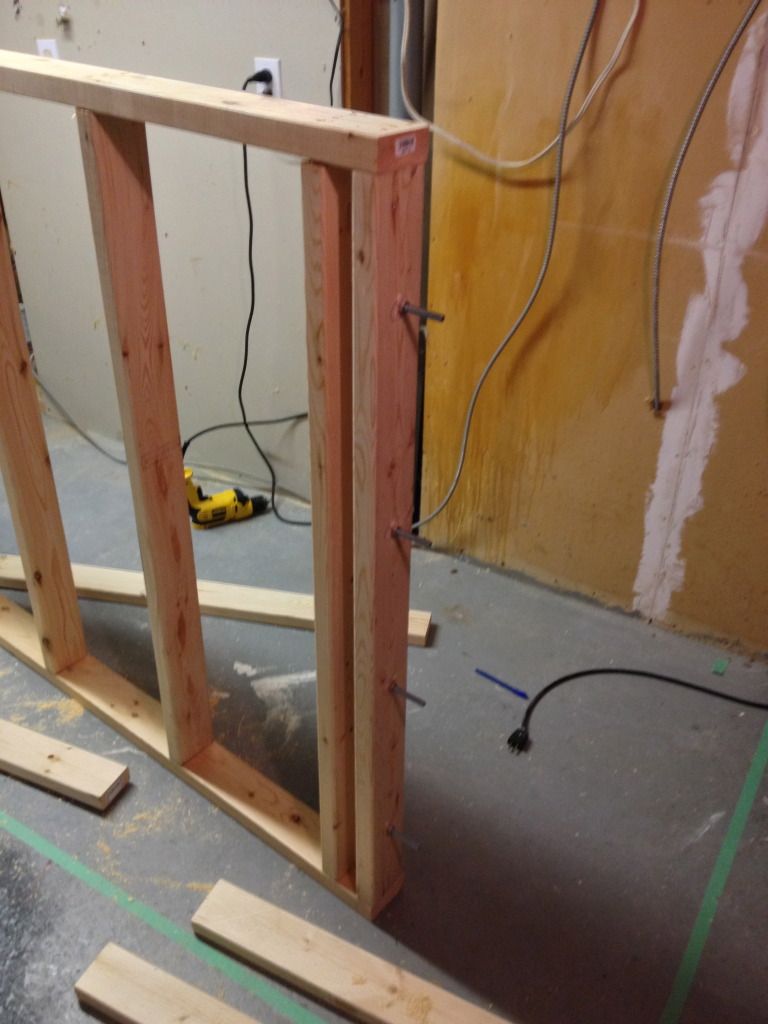
Frame out you're bottom section, I did this in two pieces for mobility. Don't forget to frame 16" studs! Saves you later.

Drill holes like so, enabling attachment
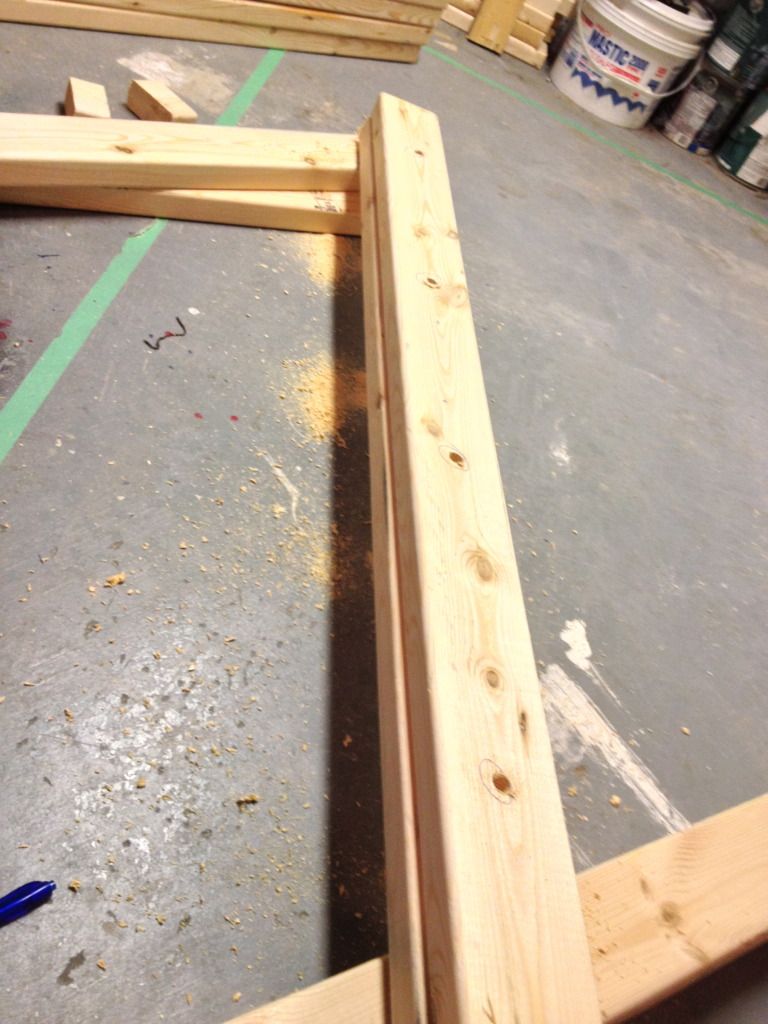
4, 3/8 Carriage bolts
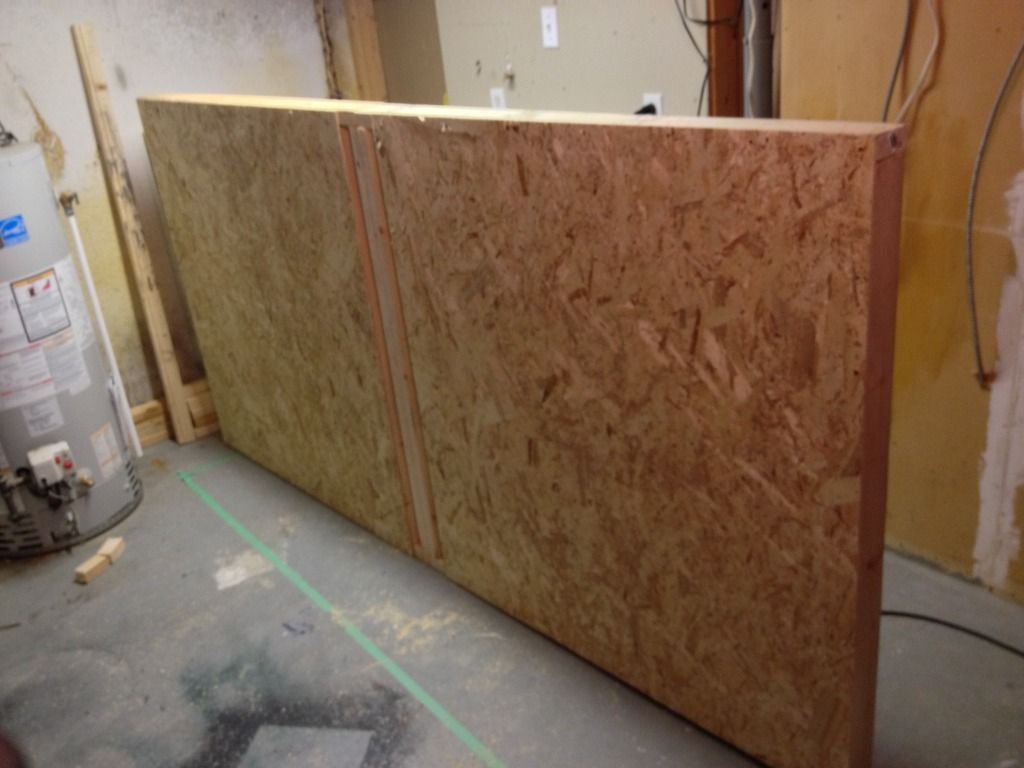
at this point you can sheet your underside, I used 1/4 OSB because its cheaper, and the bottom.
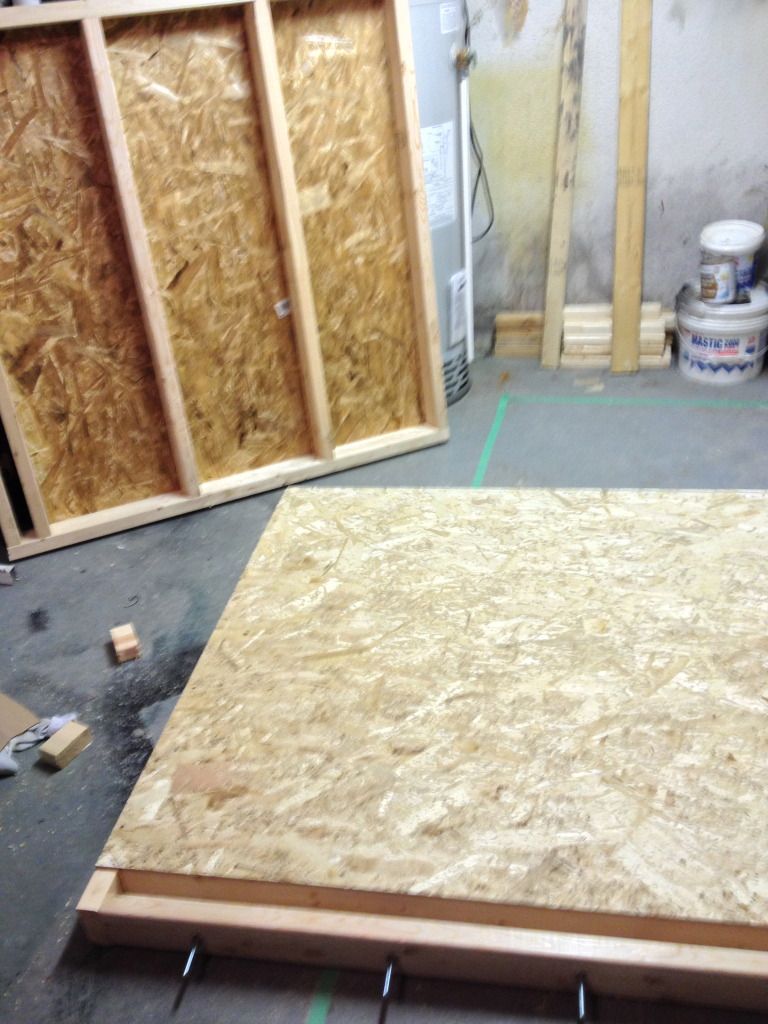
Once that is done, you can fasten the two pieces together via your carriage bolts.
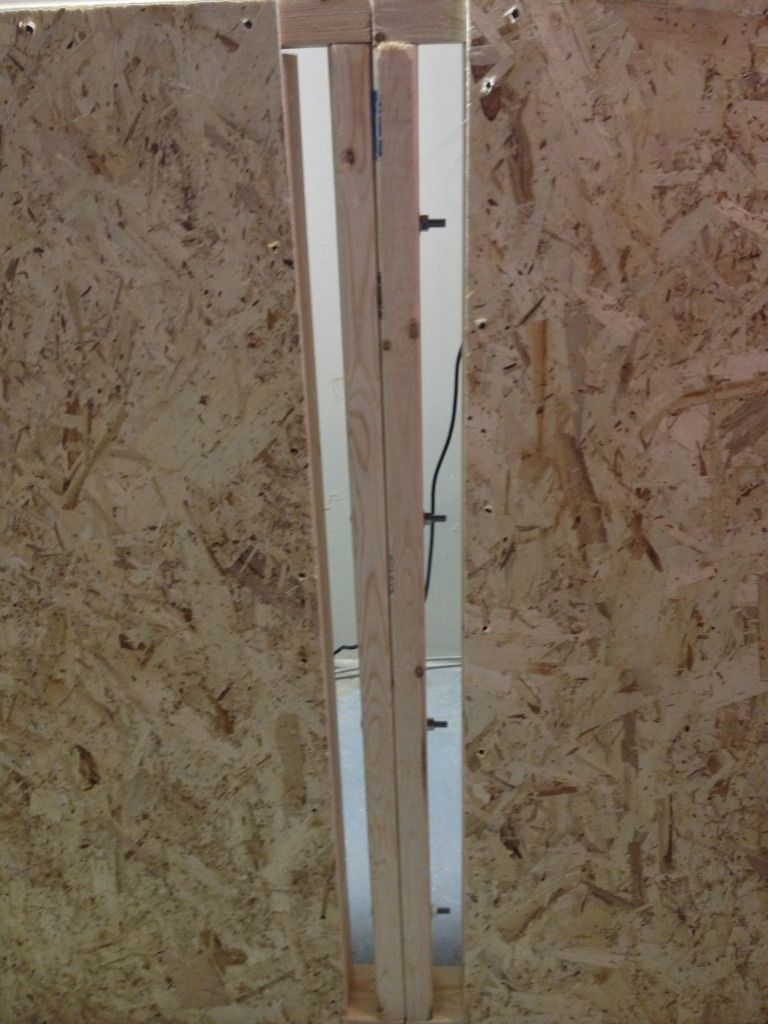


 Threaded Mode