|
|  |
| Notices |
Welcome to the sSnakeSs community. You are currently viewing our boards as a guest which gives you limited access to view most discussions and access our other features. By joining our free community you will have access to post topics, communicate privately with other members (PM), respond to polls, upload content and access many other special features. Registration is fast, simple and absolutely free so please, join our community today! If you have any problems with the registration process or your account login, please contact contact us.
|
 08-21-14, 01:33 PM
|
#46
|
|
Member
Join Date: Jul-2012
Posts: 1,236
Country: 
|
Re: My DIY Snakeroom. Work in progress.
Awesome! It's always nice to have extra space just waiting for that right animal.
|

|
|
|
08-21-14, 06:26 PM
|
#47
|
|
Member
Join Date: Jul-2013
Location: The Colony, Texas
Age: 67
Posts: 4,772
Country:
|
Re: My DIY Snakeroom. Work in progress.
Looking awesome! Can't wait to see pics after the snakes move in. 
__________________
0.1 Mexican Black King Snake (Medusa) | 1.0 Black Milk Snake (Darth) | 1.0 Desert King Snake (Tut)
Steve
|
|
|
|
|
08-21-14, 07:10 PM
|
#48
|
|
Forum Moderator
Join Date: Jan-2014
Posts: 4,329
Country: 
|
Re: My DIY Snakeroom. Work in progress.
me neither 
__________________
Aho ni toriau baka!- Baka wa shinanakya naoranai...
|
|
|
|
|
08-22-14, 08:13 AM
|
#49
|
|
Member
Join Date: Jan-2013
Location: greensboro
Posts: 156
Country:
|
Re: My DIY Snakeroom. Work in progress.
looking great. can't wait to see it come to life.
|
|
|
|
|
08-22-14, 09:42 AM
|
#50
|
|
Forum Moderator
Join Date: Jan-2014
Posts: 4,329
Country:
|
Re: My DIY Snakeroom. Work in progress.
Getting the RHP's is going to take a lot longer than expected... Sigh
__________________
Aho ni toriau baka!- Baka wa shinanakya naoranai...
|
|
|
|
|
08-31-14, 06:21 AM
|
#51
|
|
Forum Moderator
Join Date: Jan-2014
Posts: 4,329
Country:
|
Re: My DIY Snakeroom. Work in progress.
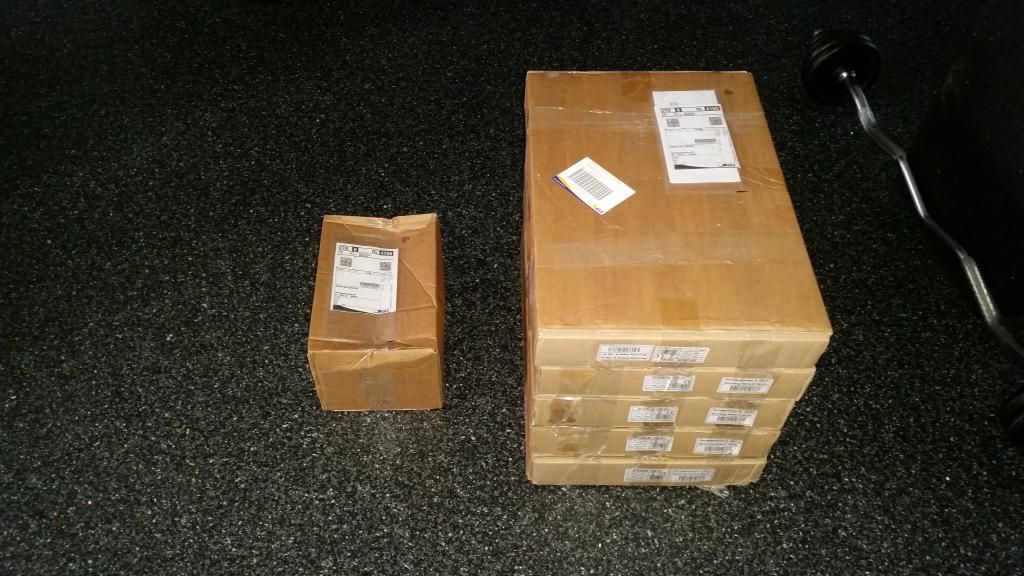
Finally! my RHP's have arrived!.. I got really excited, until i noticed.. There are only 6 boxes! I checked the order and it only said 5 panels, even though i ordered and paid for 6 (one box is thermostats). Called the supplier and he apologized and said he will send the 6th one Monday, so i should have it by Tuesday. Literally nothing in this build goes without some sort of issue, but i just hope this panel arrives on Tuesday and that it was just a slight hiccup.(Otherwise i'm going to be hellish, they weren't cheap in the slightest and they made me wait longer than necessary already)
All ready to put them inside the terrariums, once they're in we can figure out where to drill ventilation holes and lacquer the damn thing. Sadly, i can't do it alone and my so broke his shoulder...  .. So i have to get my father to help me out. have to wait until he has time, we have until October to get them done.
Anyway here some pictures, because who doesn't love pictures.
Only 6 boxes...
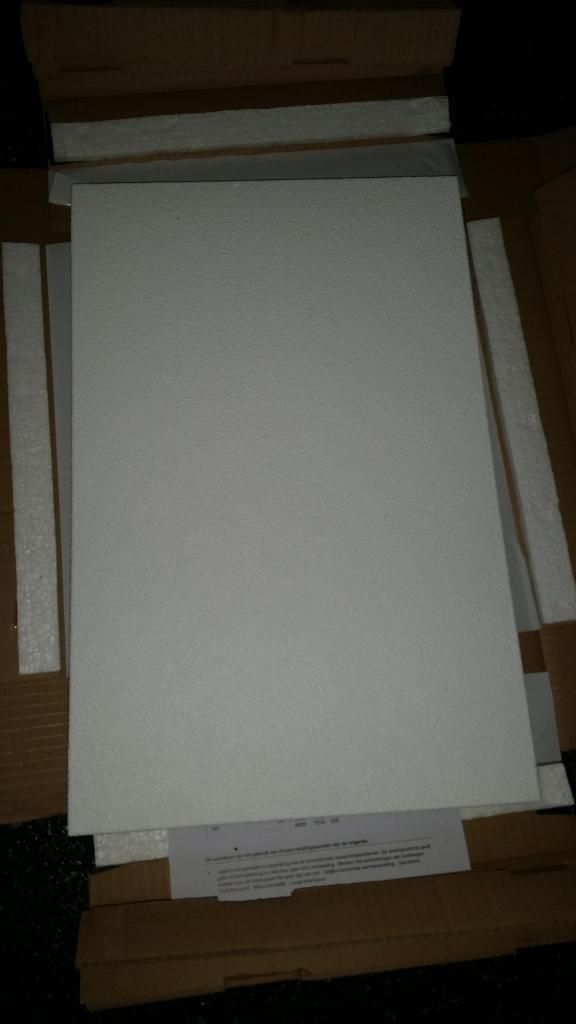
Open box, still exciting even if there is one missing!

The bottom looks very crisp and clean, nice rough surface.
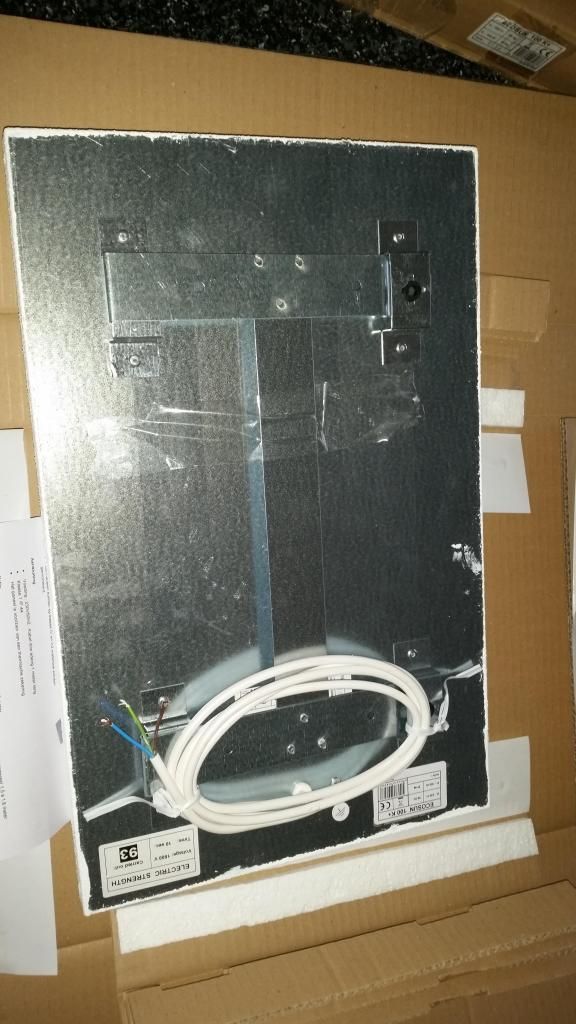
Backside
__________________
Aho ni toriau baka!- Baka wa shinanakya naoranai...
|
|
|
|
|
09-11-14, 08:20 AM
|
#52
|
|
Forum Moderator
Join Date: Jan-2014
Posts: 4,329
Country:
|
Re: My DIY Snakeroom. Work in progress.
Forgot to update this, the last panel arrived without any hiccups We're installing them somewhere this/next week.
__________________
Aho ni toriau baka!- Baka wa shinanakya naoranai...
|
|
|
|
|
09-24-14, 12:06 PM
|
#53
|
|
Forum Moderator
Join Date: Jan-2014
Posts: 4,329
Country:
|
Re: My DIY Snakeroom. Work in progress.
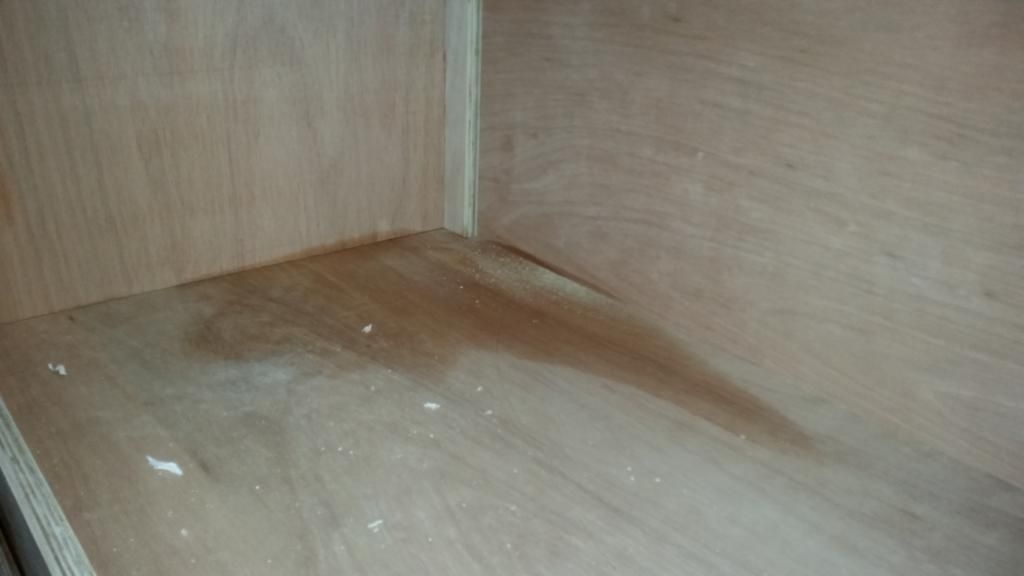
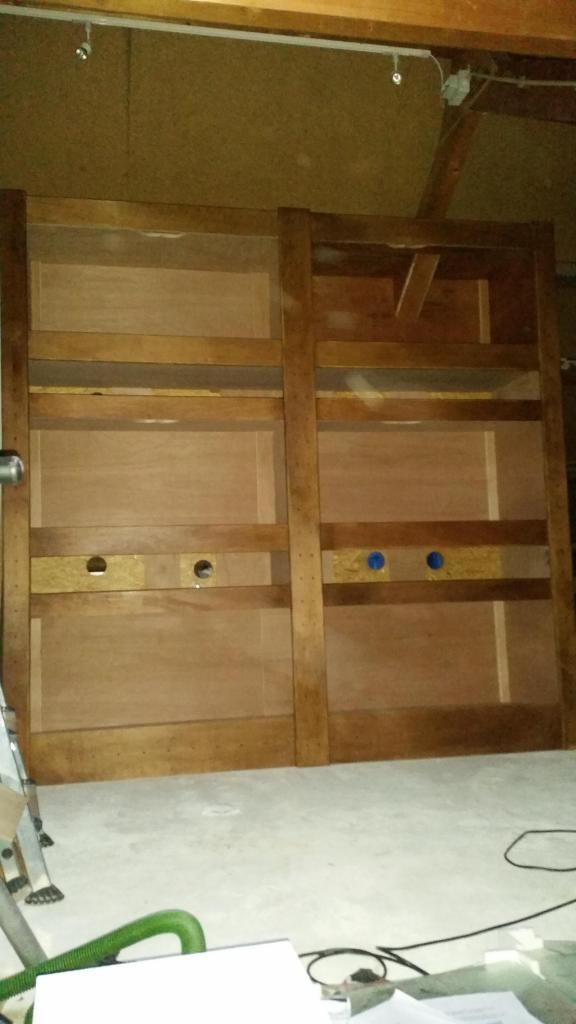
Today we spend a lot of time sanding and cutting holes for the ventilation, took a lot longer than expected. Tomorrow i'm going to lacquer everything, they first have to dry from cleaning off the stickers.
Big wet spot where one of the stickers used to be, there were 5 big stickers on the wood that i had to take off.
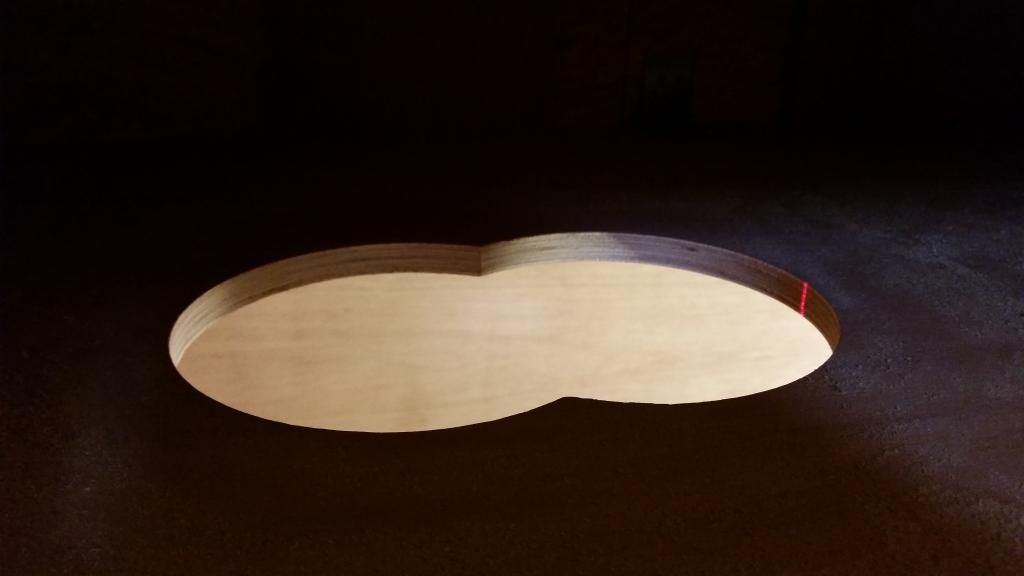
Cutting holes for the ventilation! This actually gives a bit of a idea how large the enclosures are, that's an adult man in there drilling the holes.

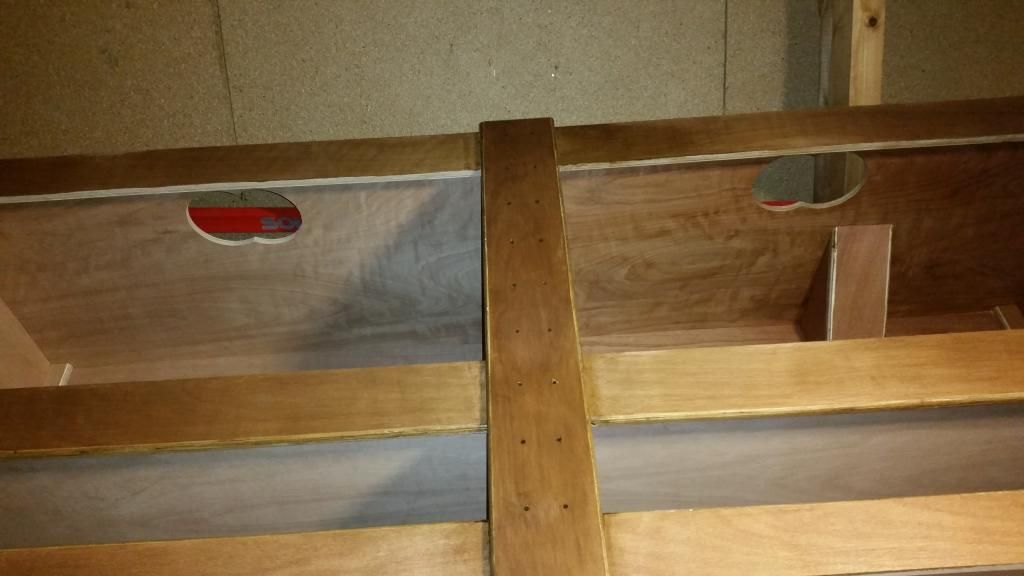
Erm, yea.. well.. a (ventilation) hole!
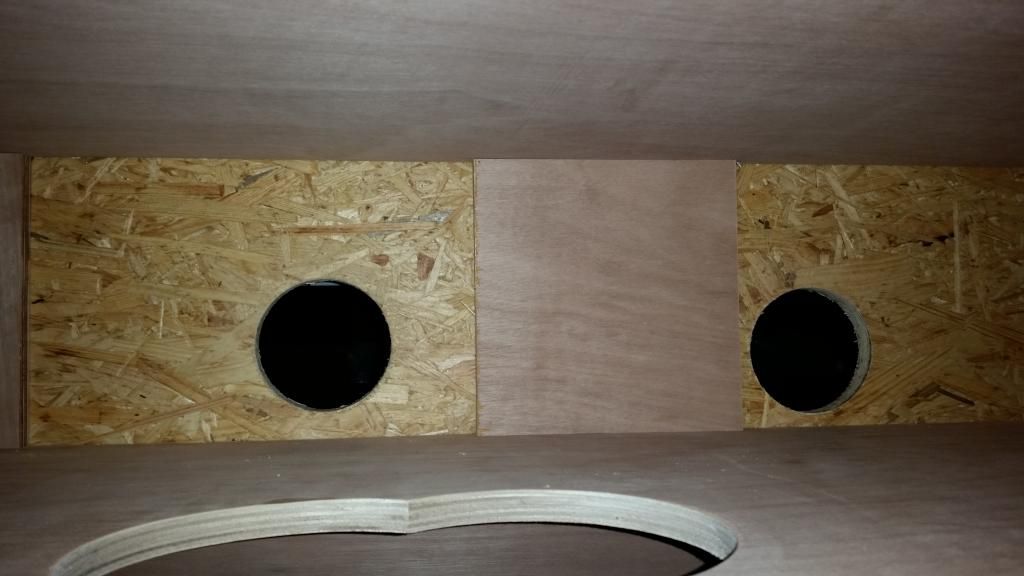
This is how the air gets into the utility rooms, i actually have tube ventilators which fit in the holes. But i am testing how well they ventilate without the fans first.
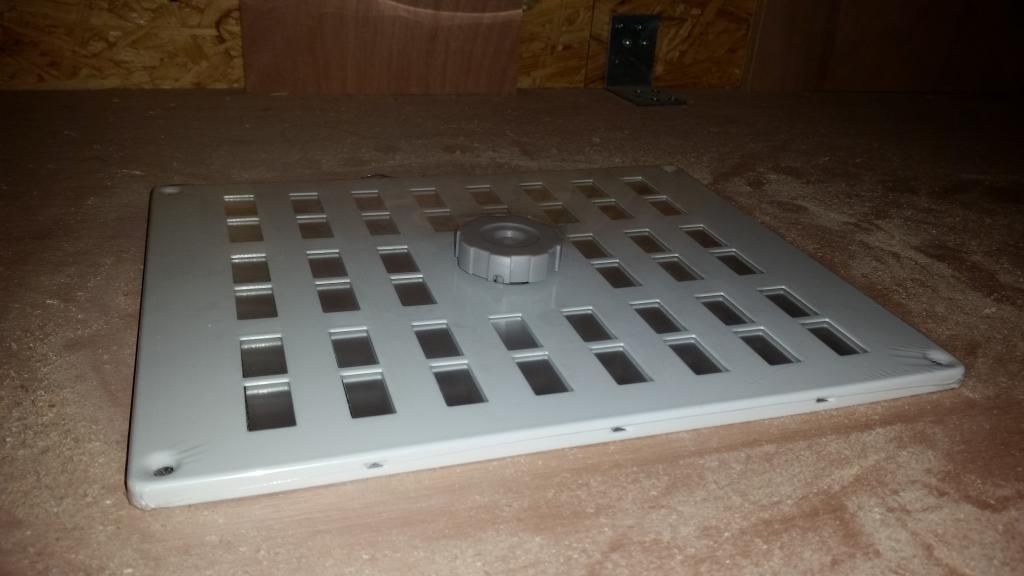
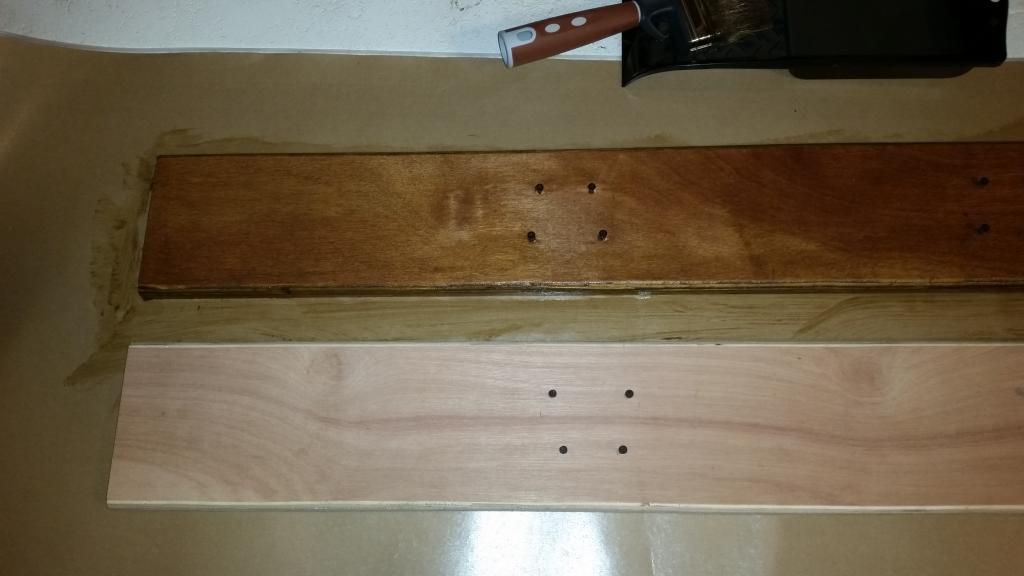
These are going to be on top, making it easier to regulate the amount of ventilation.
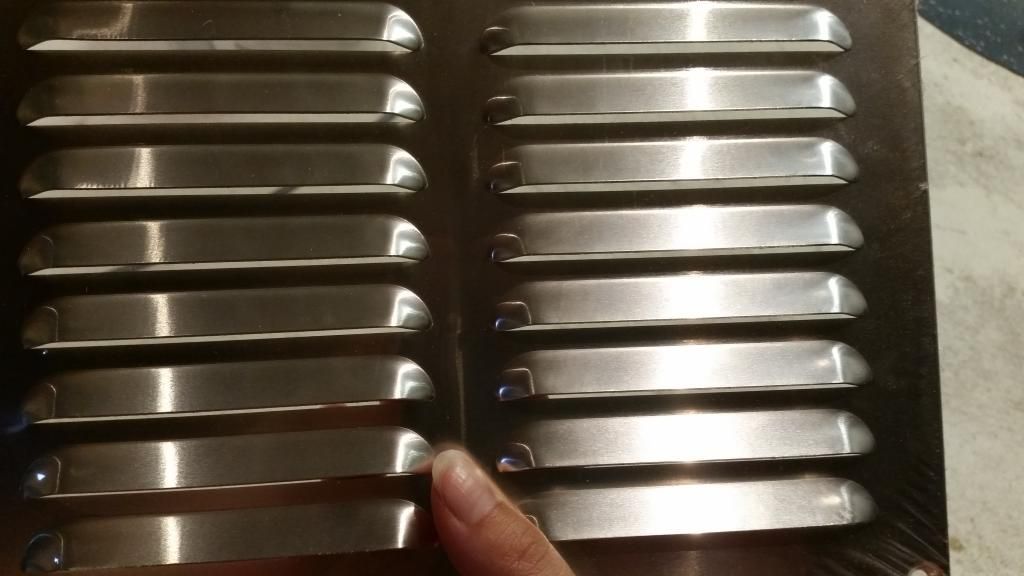
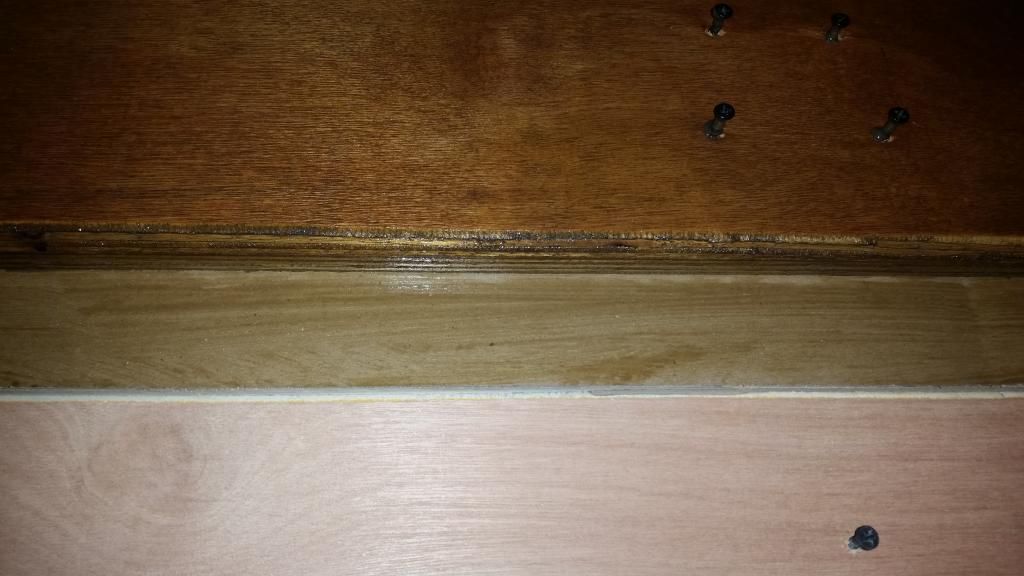
These will be on the inside the enclosures, covering the holes. Will prevent the snakes from getting to it, and it will look a lot nicer as well.
__________________
Aho ni toriau baka!- Baka wa shinanakya naoranai...
|
|
|
|
|
09-24-14, 12:07 PM
|
#54
|
|
Forum Moderator
Join Date: Jan-2014
Posts: 4,329
Country:
|
Re: My DIY Snakeroom. Work in progress.
This is the main reason everything is taking so long, this is a snapshot of our other project.
http://i270.photobucket.com/albums/j...psf370ed93.jpg
__________________
Aho ni toriau baka!- Baka wa shinanakya naoranai...
|
|
|
|
|
09-24-14, 01:01 PM
|
#55
|
|
Member
Join Date: Jun-2014
Location: Midwest
Posts: 192
Country:
|
Re: My DIY Snakeroom. Work in progress.
Cripes!! you have two huuuge projects going on. Looks awesome though!
__________________
Dartagnan, Andromeda, and Marshall
1.0 Leopard Gecko 0.1 Rosy Boa 0.0.1 Western Painted Turtle
|
|
|
|
|
09-24-14, 05:28 PM
|
#56
|
|
Forum Moderator
Join Date: Jan-2014
Posts: 4,329
Country:
|
Re: My DIY Snakeroom. Work in progress.
Thx! and yea, we're building all over the place, we just finished the kitchen last week. We did decide to make these enclosures usable asap though, since my retic has really grown out of her current tub. There will also be a new arrival on the 11th of october, so i would prefer to have my other snakes living in this tower! - They are currently occupying my quarantine tubs.
The large 10foot tub(s) however will be postponed until the bathroom is finished! (and then we still have to turn the old bathroom into a walk in closet, do the downstairs toilet, the backyard, finish the guest room.. and a few more small things like some painting and some finishing touches)
__________________
Aho ni toriau baka!- Baka wa shinanakya naoranai...
|
|
|
|
|
09-26-14, 11:45 AM
|
#57
|
|
Forum Moderator
Join Date: Jan-2014
Posts: 4,329
Country:
|
Re: My DIY Snakeroom. Work in progress.
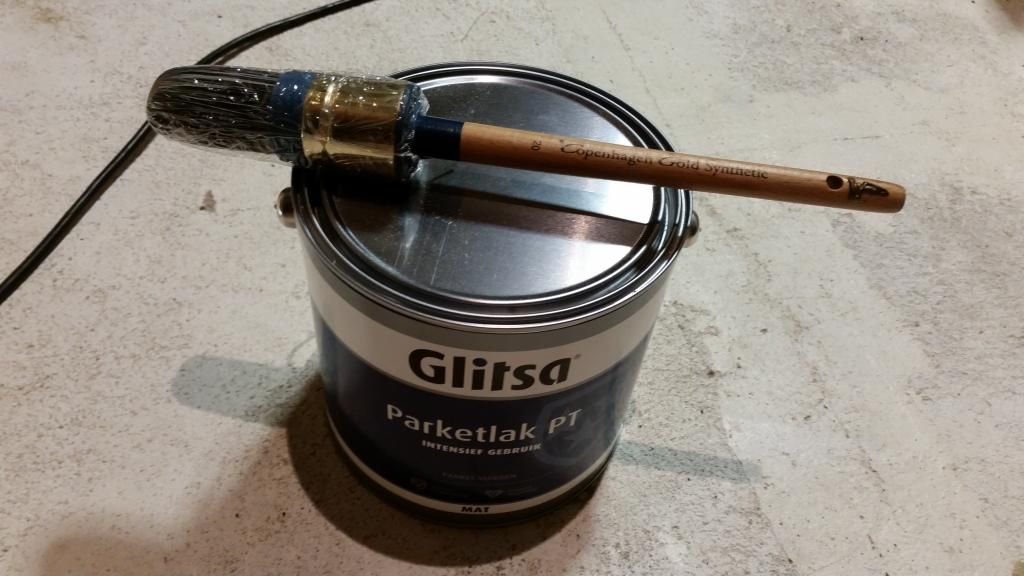
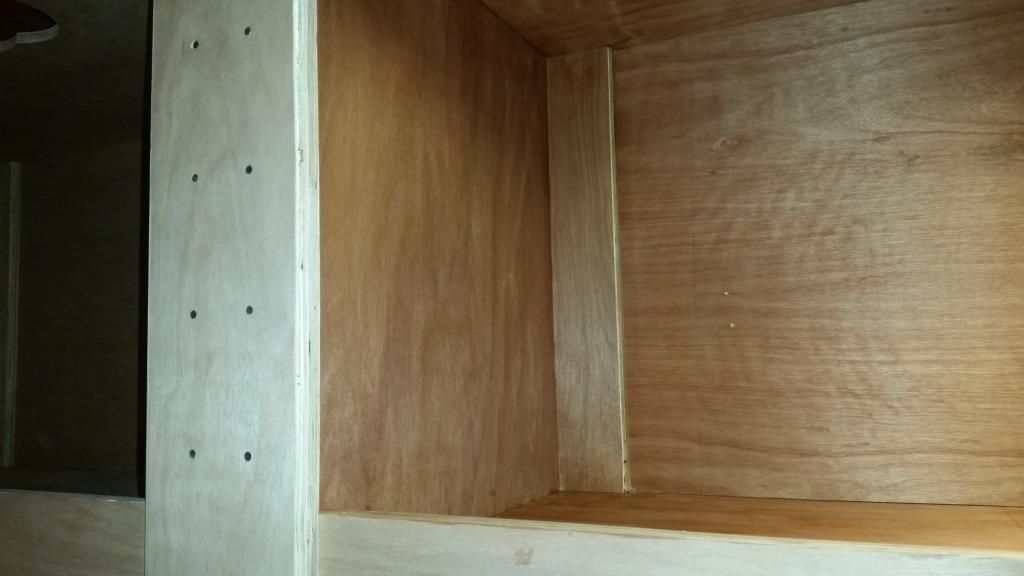
Started with the lacquer, after doing the first tub i realized it would be a lot easier to stain the outside first.
The lacquer looks amazing, the grain of the wood looks a lot better! You can really see the difference between the bare wood and the lacquered wood. It should dry up a little less shiny than it is now.
So i started staining the outside, the color of the stain is old oak. It looks a LOT better in real life than it does on the pictures, but that is mostly because it is still wet.
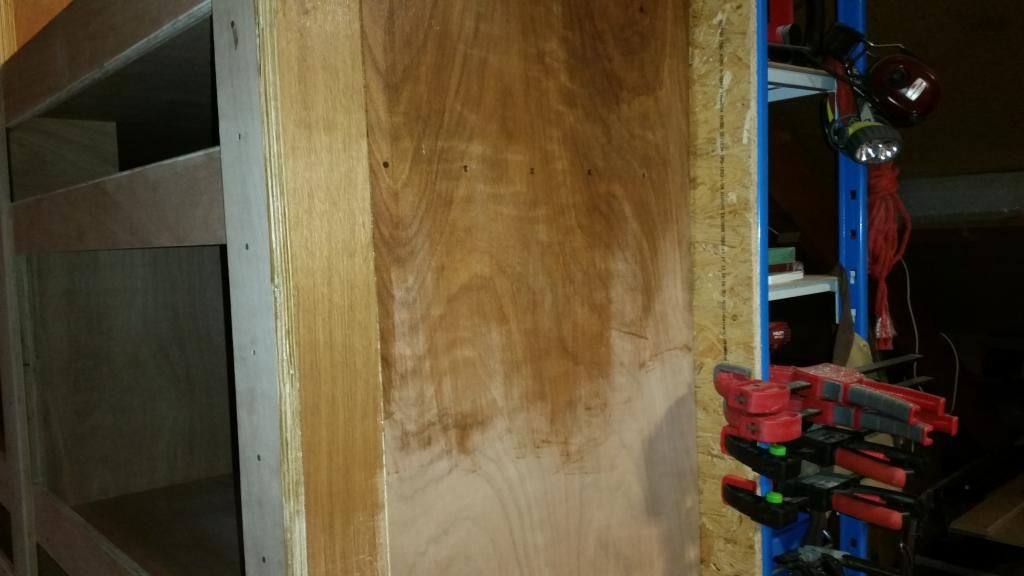
The pipes in the background will be behind a wall later, can't cover it up yet some stuff still left to do in that corner.

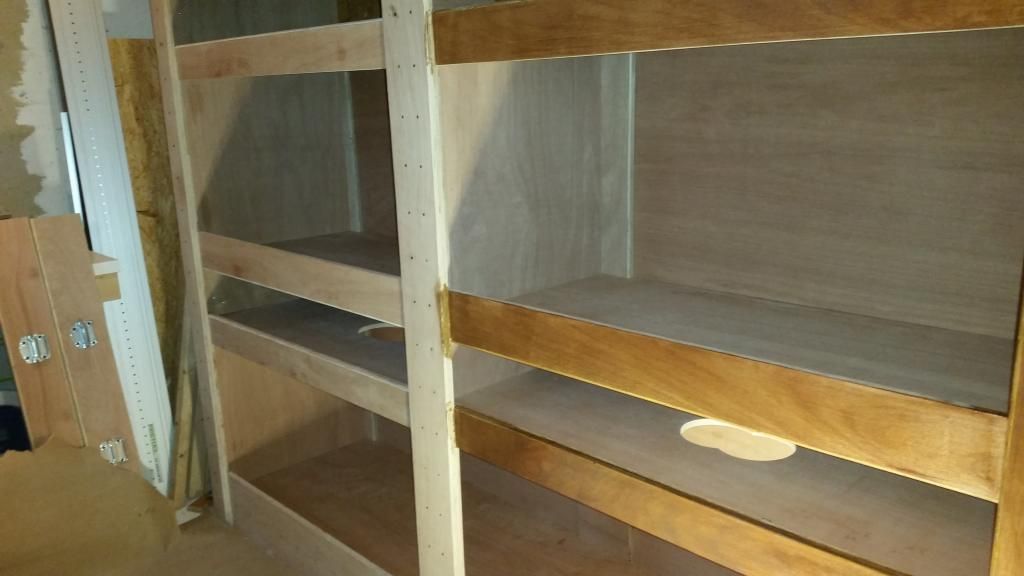
crawled into the back of the attic, trying to get the entire thing on one picture. You can really see the difference between the one tub that already has one layer of lacquer and the ones that don't.
The covers for the utility rooms are not forgotten!
__________________
Aho ni toriau baka!- Baka wa shinanakya naoranai...
|
|
|
|
|
09-27-14, 09:43 AM
|
#58
|
|
Forum Moderator
Join Date: Jan-2014
Posts: 4,329
Country:
|
Re: My DIY Snakeroom. Work in progress.
The staining is now 100% finished, and all the enclosures have their first thick layer of lacquer. One more layer of lacquer is needed, will probably do that tomorrow. Then it needs to dry/harden for at least 48h before we can do anything.
After the lacquer dries we have to put in the ventilation grids, which will take no more than an hour tops. Put in the sliders for the windows, which i estimate will take a few hours (Could be faster ). Then all there is left to do is put in the sealant, let dry.. And then i can start filling them!
__________________
Aho ni toriau baka!- Baka wa shinanakya naoranai...
|
|
|
|
|
09-28-14, 11:14 AM
|
#59
|
|
Forum Moderator
Join Date: Jan-2014
Posts: 4,329
Country:
|
Re: My DIY Snakeroom. Work in progress.
In case anyone is still following this thread. Done with the lacquer, read the can again.. Its not 48 hours that we have to wait until it has hardened.. but 4! days! But the good thing is after 48h i can apply the sealant without issues. Just have to wait putting in the rhp's and grids for a few days, now that we're so close to completion i'm getting so impatient! Just cleaned out the tubs where the snakes are living now, and was kinda disappointed i had to put them back in there. And by the amount of times Renji tried to get in my face i can really tell he wants to move as well :P
__________________
Aho ni toriau baka!- Baka wa shinanakya naoranai...
|
|
|
|
|
09-28-14, 05:49 PM
|
#60
|
|
Member
Join Date: Sep-2013
Location: Vero Beach, Florida
Posts: 239
Country:
|
Re: My DIY Snakeroom. Work in progress.
The room is looking great! Very nice work.
Looking forward to seeing them occupied!
|
|
|
|
| Thread Tools |
|
|
| Display Modes |
 Linear Mode Linear Mode
|
 Posting Rules
|
You may not post new threads
You may not post replies
You may not post attachments
You may not edit your posts
HTML code is Off
|
|
|
All times are GMT -6. The time now is 03:04 AM.
Powered by vBulletin®
©2000 - 2025, Jelsoft Enterprises Ltd.

Copyright © 2002-2023, Hobby Solutions.
|
 |


