|
|  |
| Notices |
Welcome to the sSnakeSs community. You are currently viewing our boards as a guest which gives you limited access to view most discussions and access our other features. By joining our free community you will have access to post topics, communicate privately with other members (PM), respond to polls, upload content and access many other special features. Registration is fast, simple and absolutely free so please, join our community today! If you have any problems with the registration process or your account login, please contact contact us.
|
 11-04-12, 01:52 AM
|
#16
|
|
Member
Join Date: Oct-2012
Location: new york city
Age: 27
Posts: 3
Country: 
|
Re: DIY: Monitor Enclosure
Lovin it!!
__________________
Luis Angel Reyes
|

|
|
|
11-05-12, 11:30 AM
|
#17
|
|
Member
Join Date: Mar-2012
Posts: 63
Country: 
|
Re: DIY: Monitor Enclosure
Quote:
Originally Posted by LAR Reptiles

Lovin it!!
|
What he said!! 
__________________
Exotic animals are like chips..you can't have just one 
|
|
|
|
|
11-10-12, 11:38 PM
|
#18
|
|
Member
Join Date: Oct-2012
Posts: 242
Country: 
|
Re: DIY: Monitor Enclosure
I'll have thorough pictures up next few days. My computer is in for repairs. Lame I know.
But I have a box now! Lol

|
|
|
|
|
11-14-12, 08:55 PM
|
#19
|
|
Member
Join Date: Oct-2012
Posts: 242
Country:
|
Re: DIY: Monitor Enclosure
Alright, I'm sorry for the delays, had car issues and my laptop is in for repairs lol
Lets go,
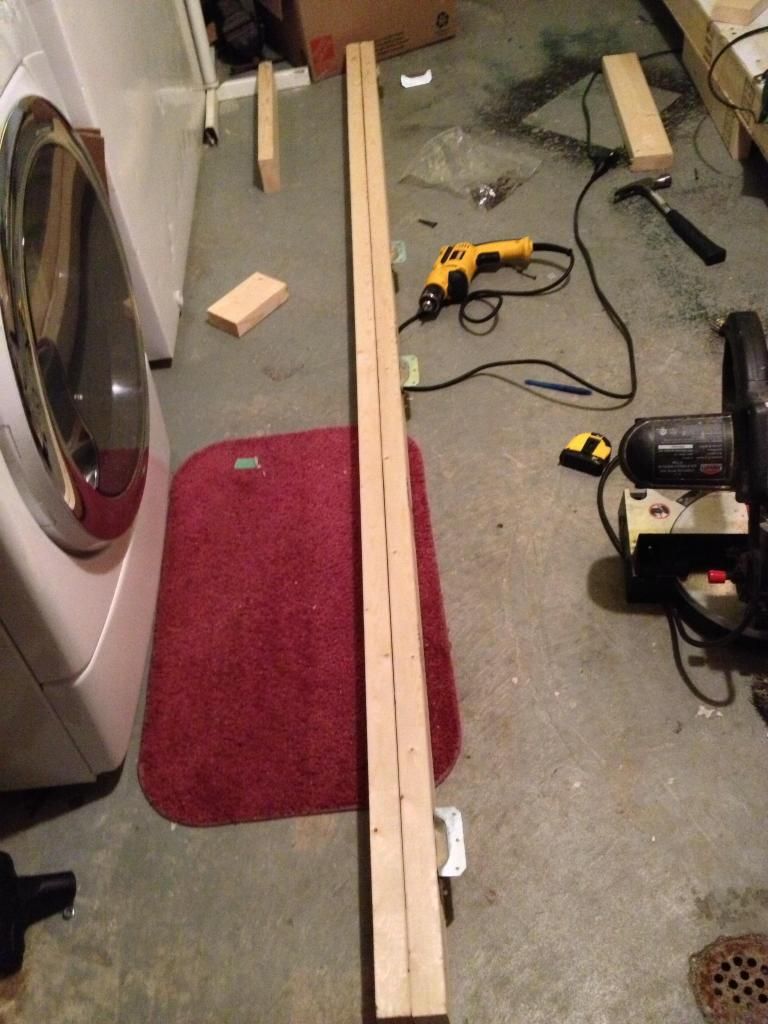
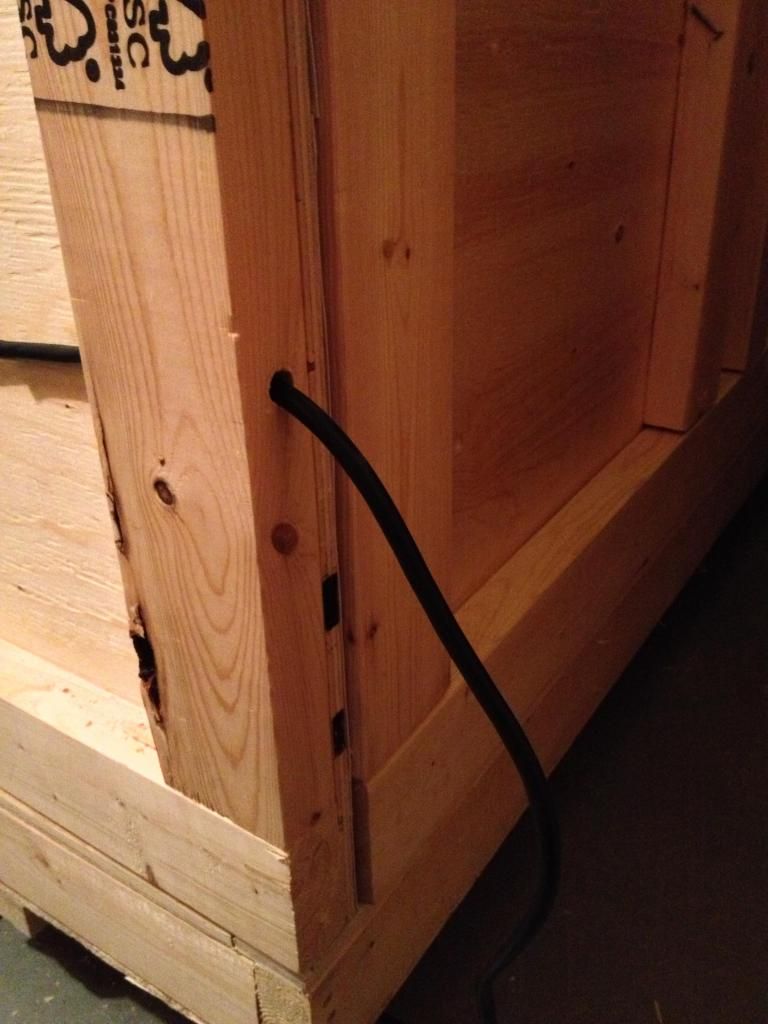
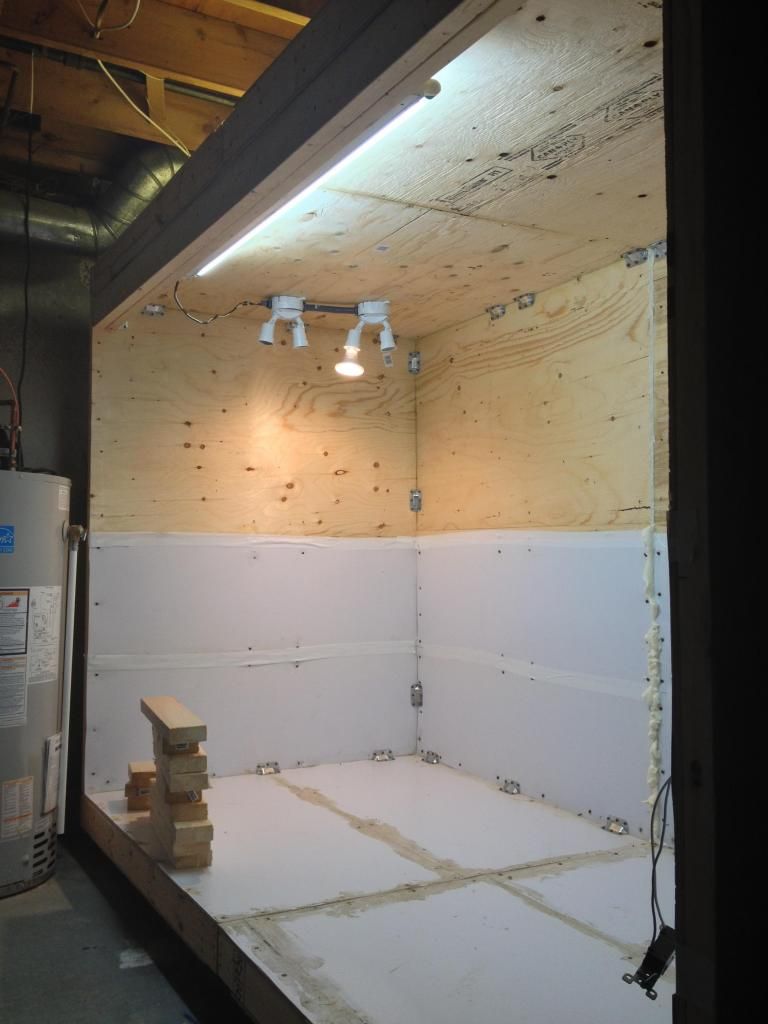
Ok where we left off. Once you get all your walls pre fabbed, you can go ahead and fasten the enclosure via your brackets, screws, nails, lags, carriage bolts etc, whatever you fancy.
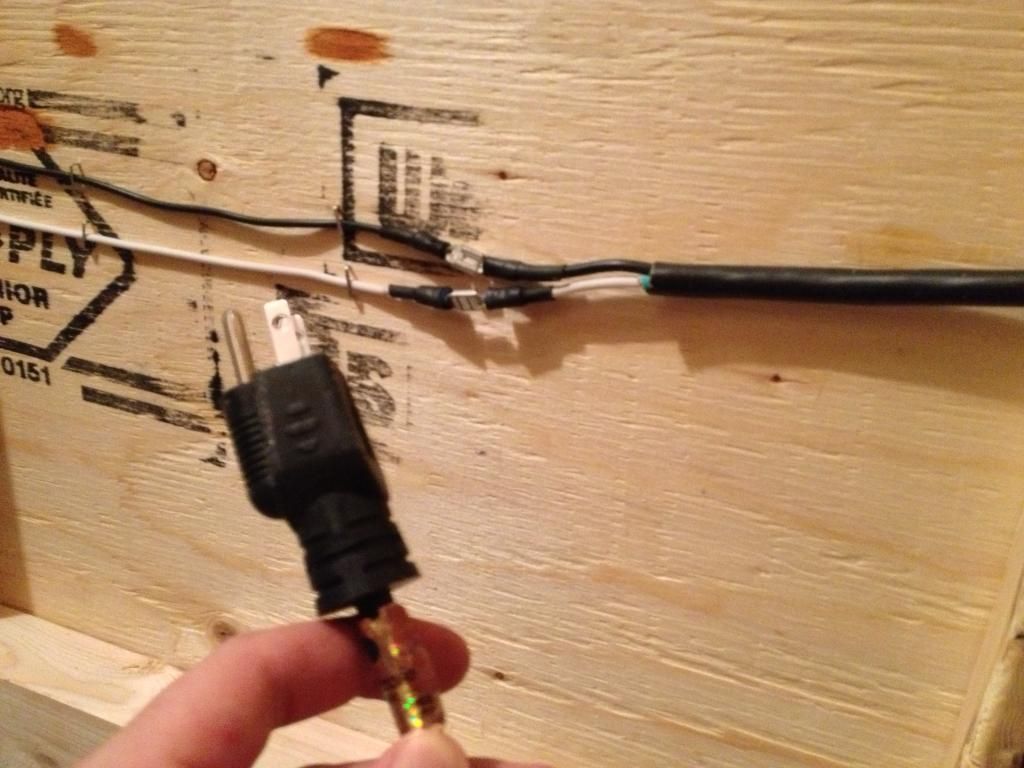
Then you can start on your ceiling, I built in the same fashion I did my bottom. Once you do that, drill some holes through the studs to run wires like so, staple them down too!
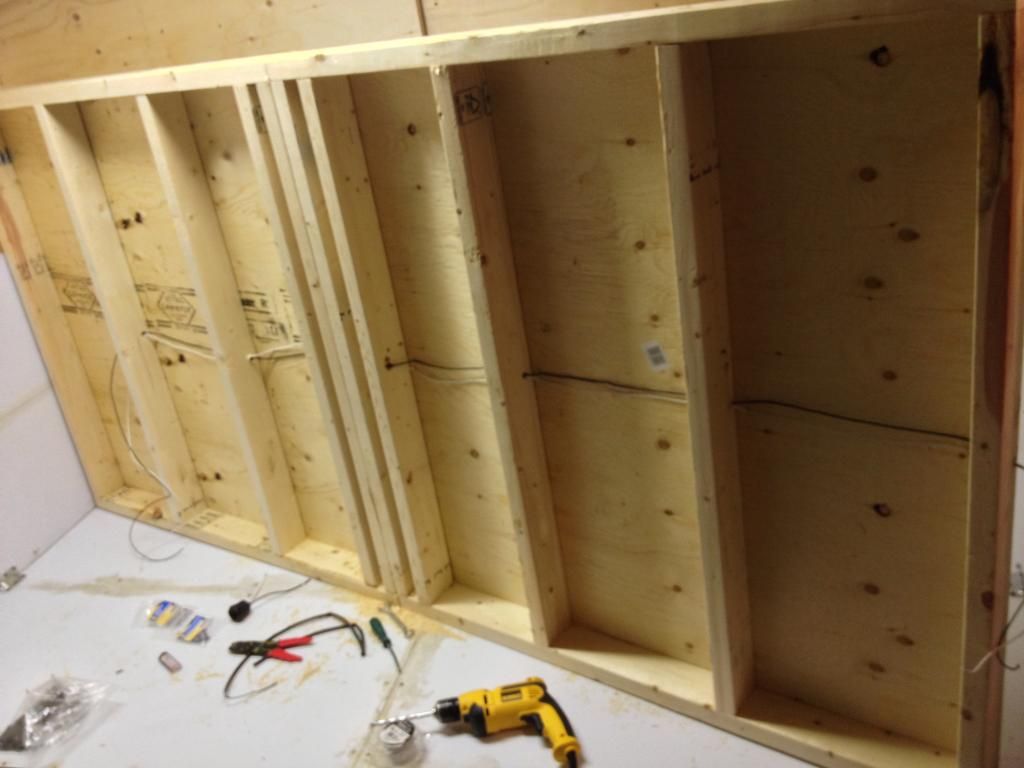
All you need is your two wires, white and black, drill out your plywood to drop the wires down before you close it too. Then same thing, insulate the top, bolt it together, grab a friend, and you should have this by now.

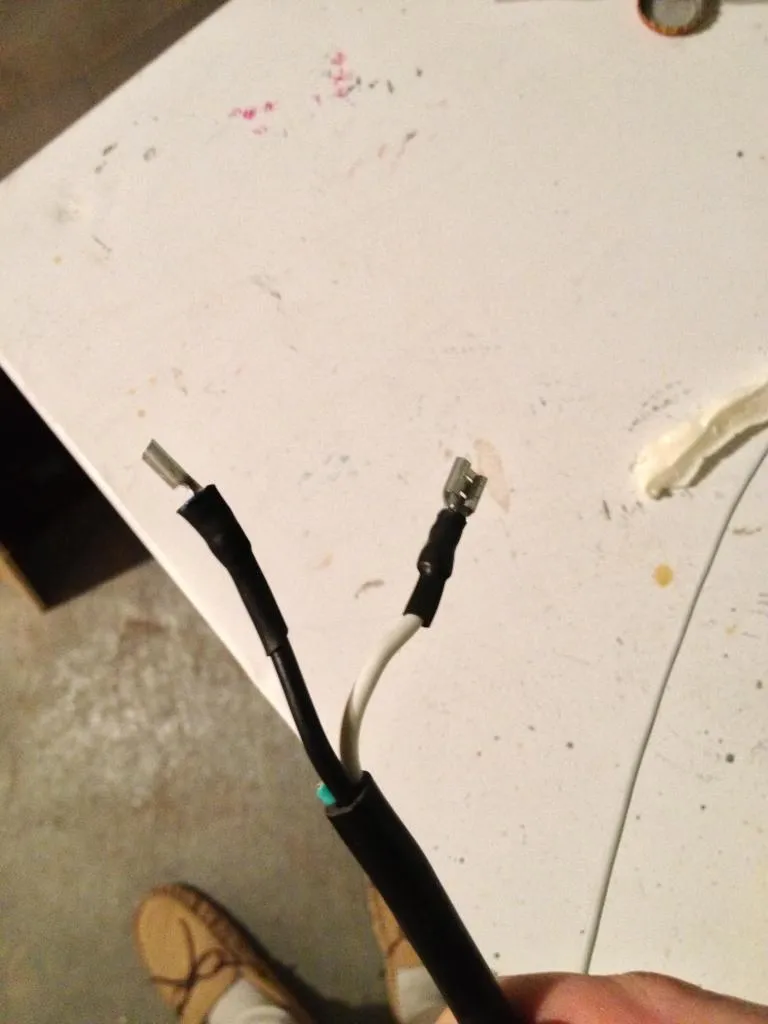
It's also smart to install some butt connectors for ease. It's even more importan to protect all your connections from moisture and humidity. I advocate shrink tubing religiously, more expensive then electrical tape, but worth it.
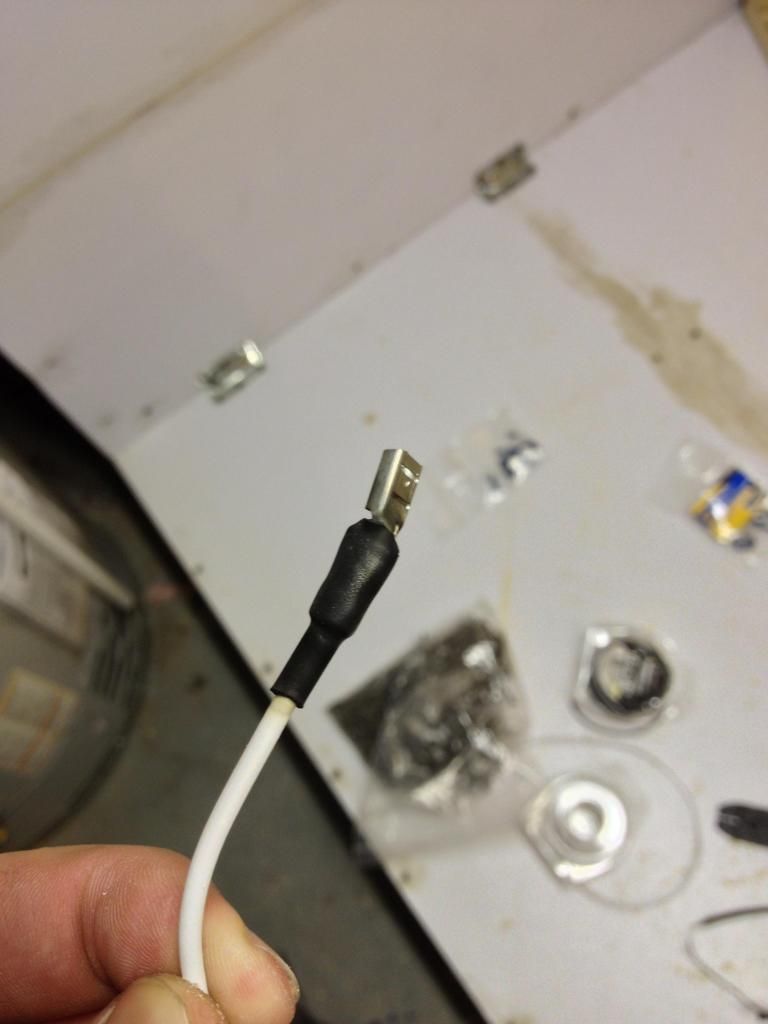
I kept my connection in my accessible joint.
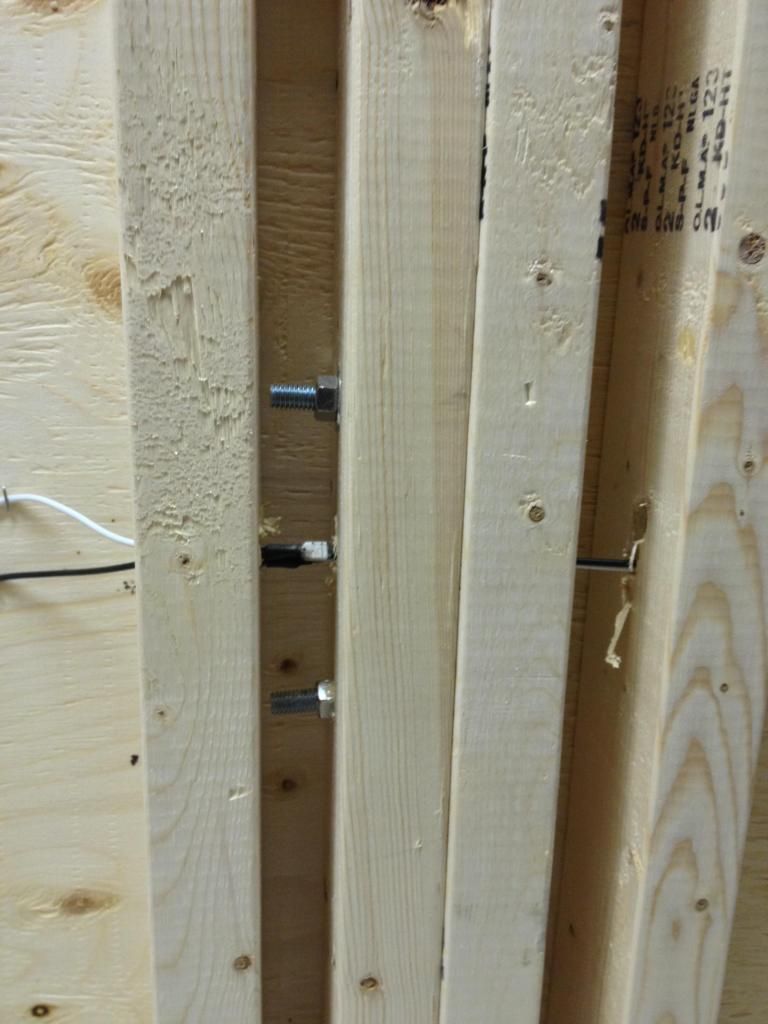
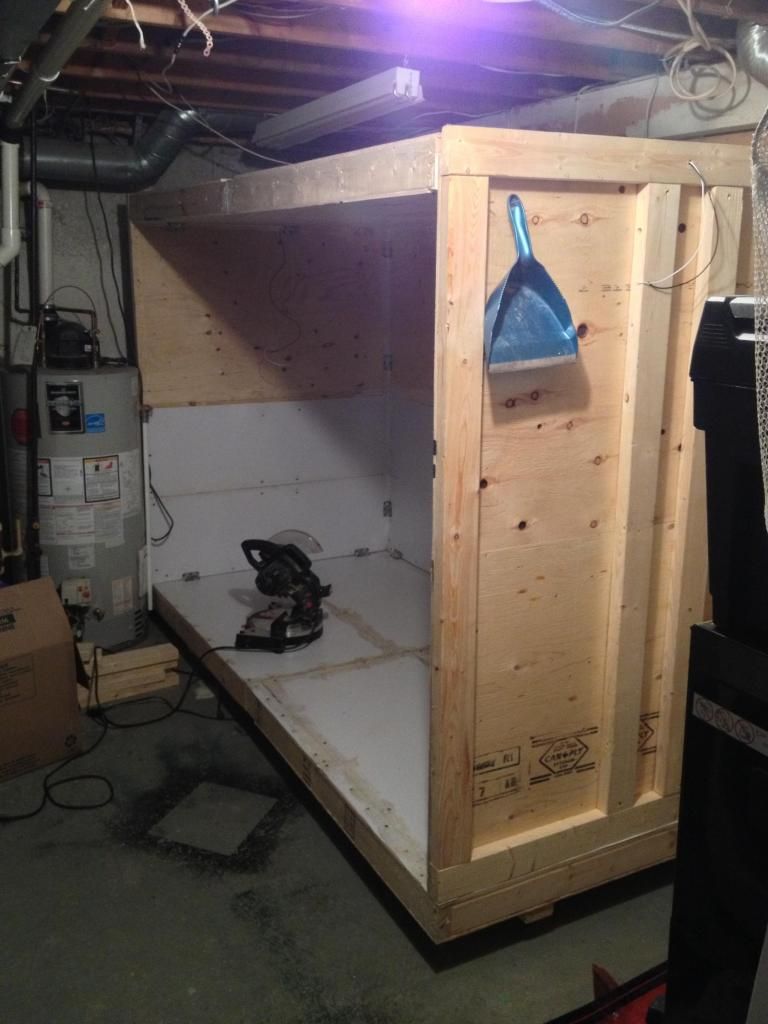
Ok, now you have a partial box setup, now you can seal! Seal, seal, seal! Even though this is built with moving in mind, you can only do so much mobility wise. I took no chance for a leaky tank. I foamed every crack and void, and went through about 10 tubes of silicone so far.
|
|
|
|
|
11-14-12, 08:57 PM
|
#20
|
|
Member
Join Date: Oct-2012
Posts: 242
Country:
|
Re: DIY: Monitor Enclosure
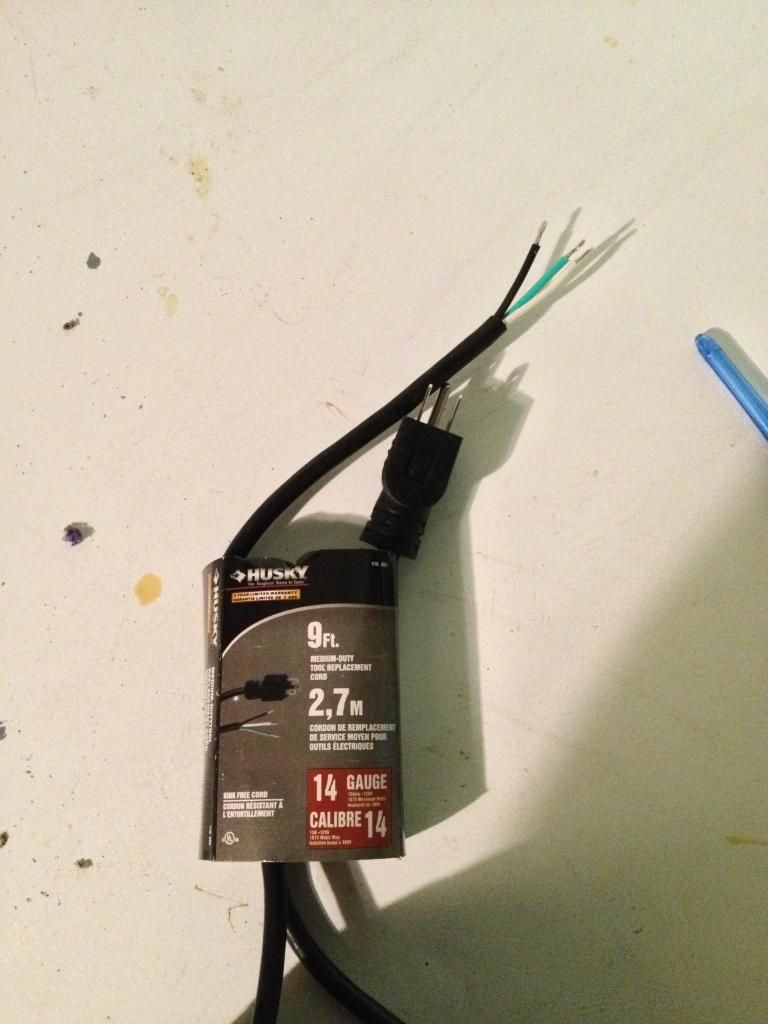
Once you're done that, we can wire, now, you should have your two wires hanging from the ceiling and out the side or back of the tank. I chose side. The wiring is easy, I picked up an extension tool/power tool replacement wire from Home Depot, it's about $10, and worth it. Also you'll need about 50' of black and white 14 gauge wire, a light switch, wire stripperS, shrink tube and butt connections. Drill some more holes to run your wires.
Apply some butts to your wires and connect your extension cord end. I kept in about 5" in the tank. So I have a 10' cord for the tank.
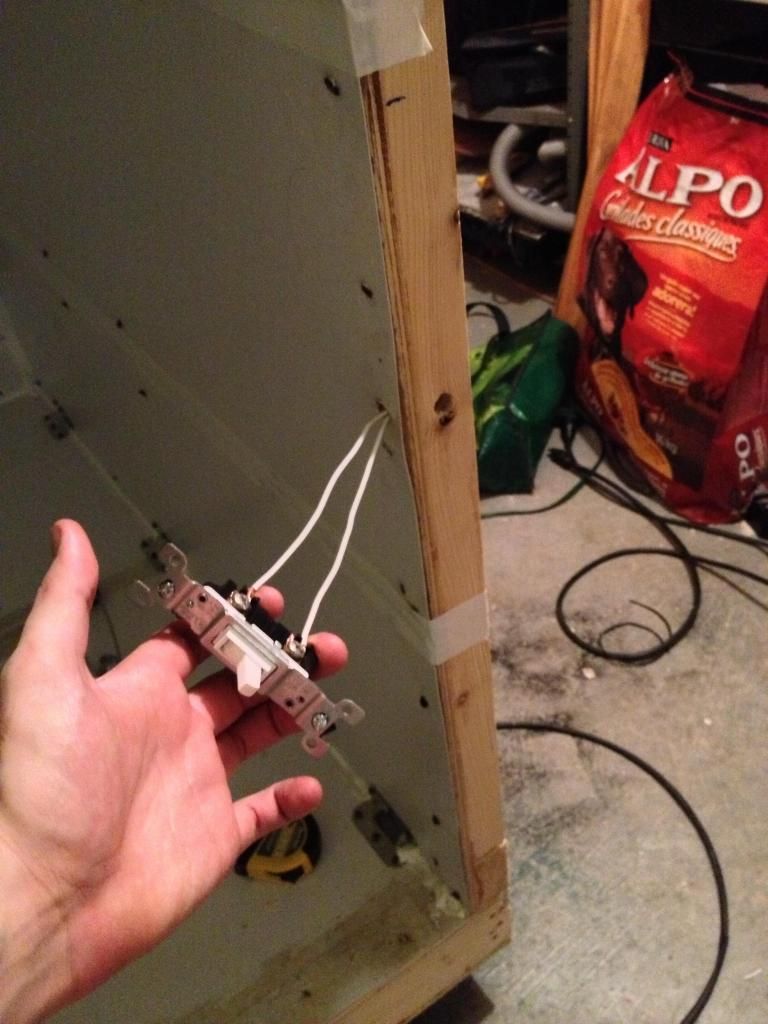
Now people always get confused when it comes to wirin in a switch, it's easy, it's just a break in your power, simple.
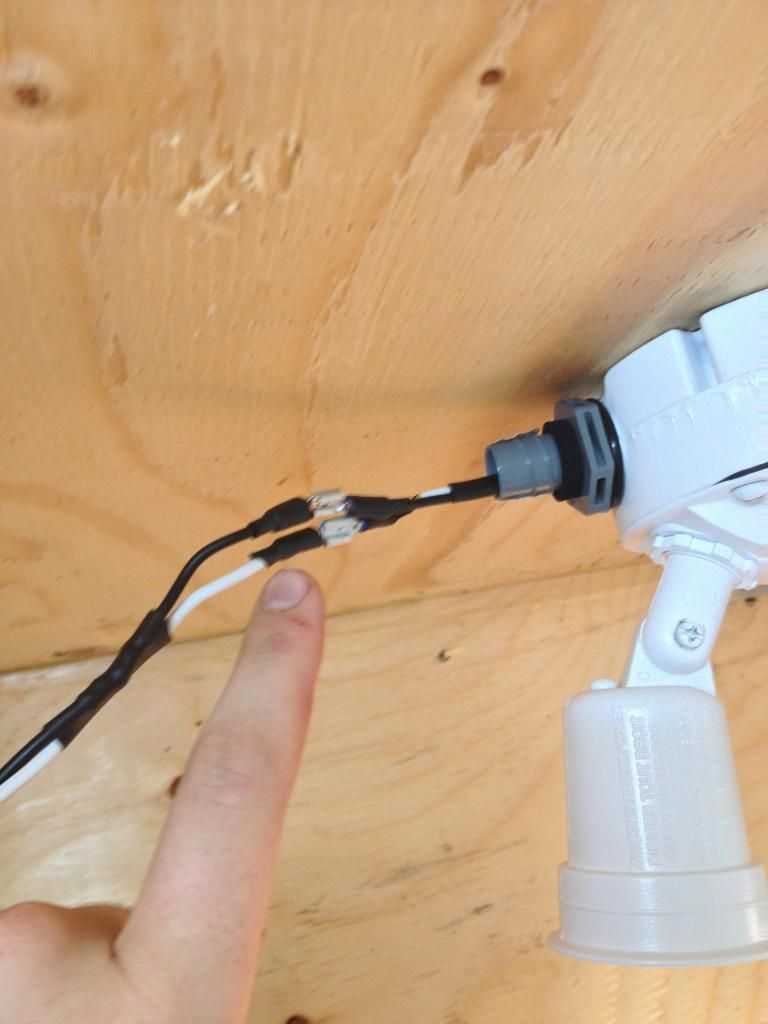
This is what I'm using for my heat lights. Outdoor flood light fixtures. Liquid tight.
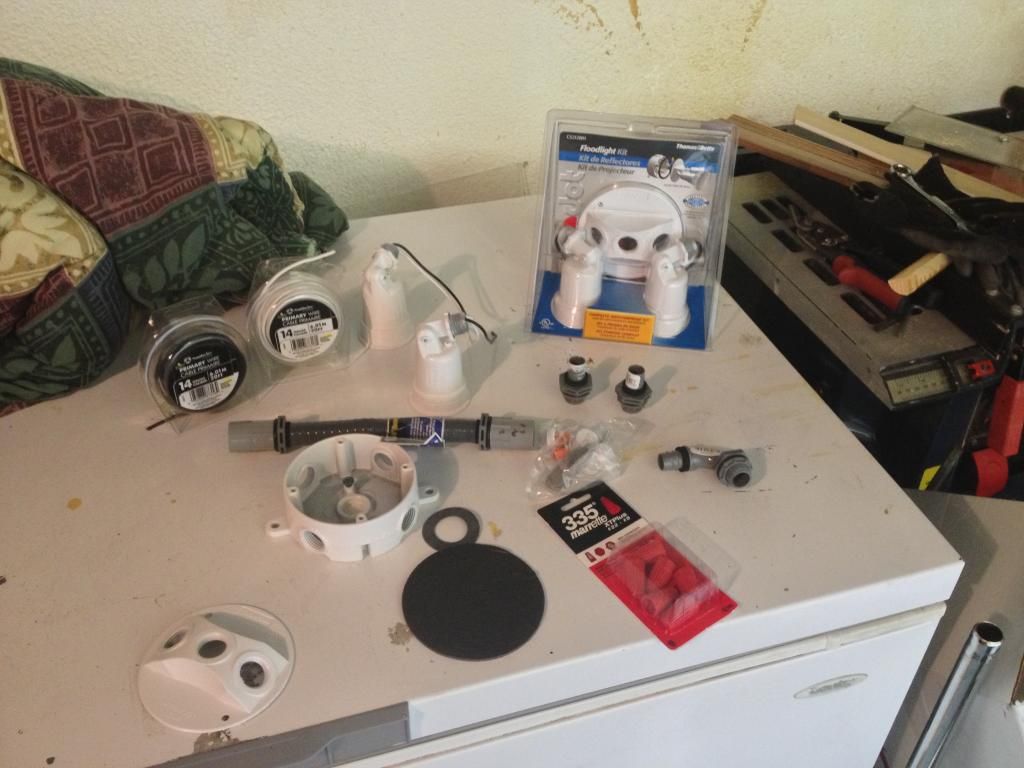
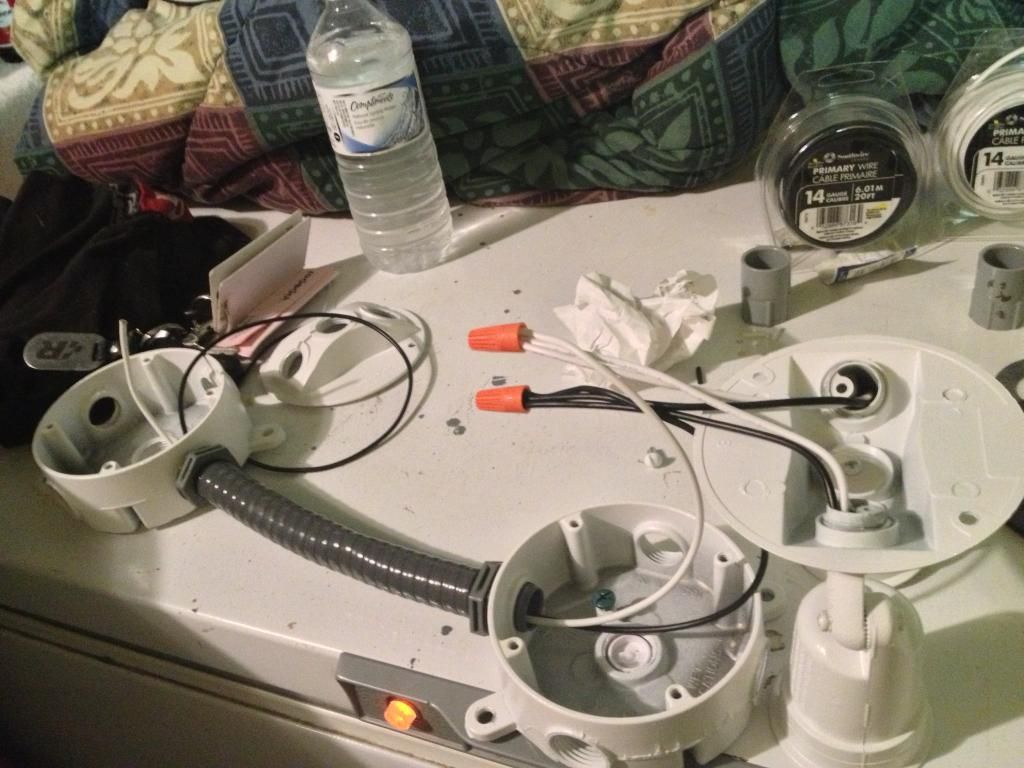
Now pre wire your one light, not mixing up the colors and insuring a solid connection. Or you'll be blowing fuses. It's also very important that you shield your connections in a metal junction box like so, or it can void your home insurance of it ever sparks and catches fire.
|
|
|
|
|
11-14-12, 08:59 PM
|
#21
|
|
Member
Join Date: Oct-2012
Posts: 242
Country:
|
Re: DIY: Monitor Enclosure
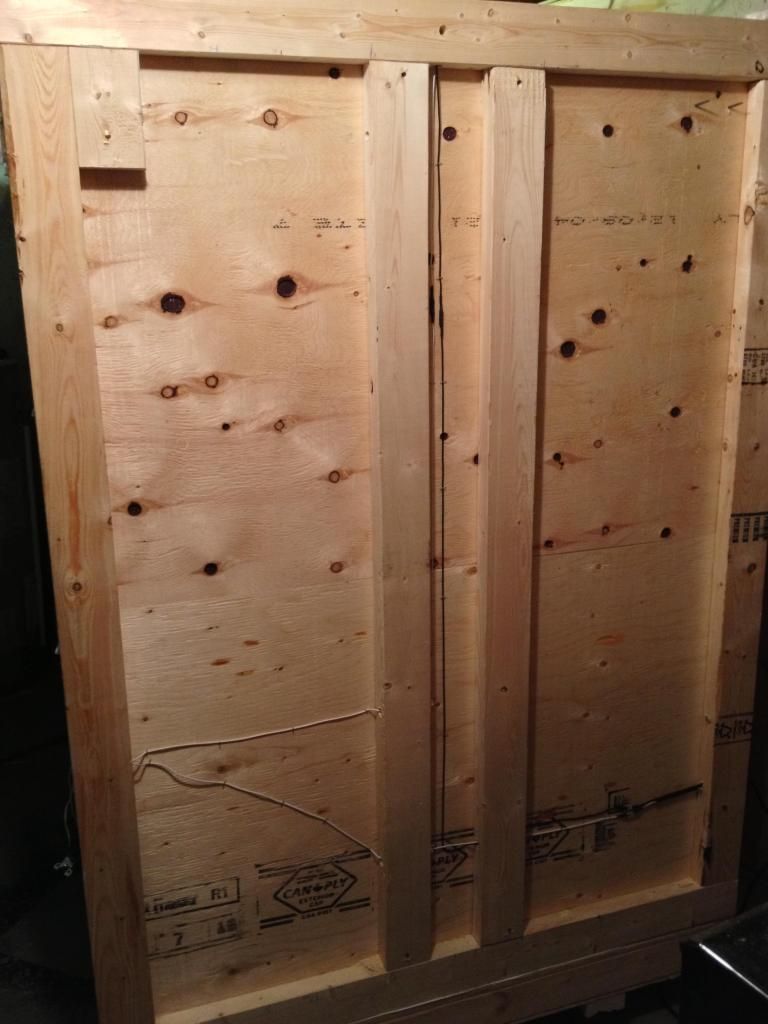
Now you can install the fixtures. Remembering to keep whites to whites and blacks to blacks.
Also pay attention to the little things, like the screws that angle and position the lights, face them to you, so you can adjust with ease.
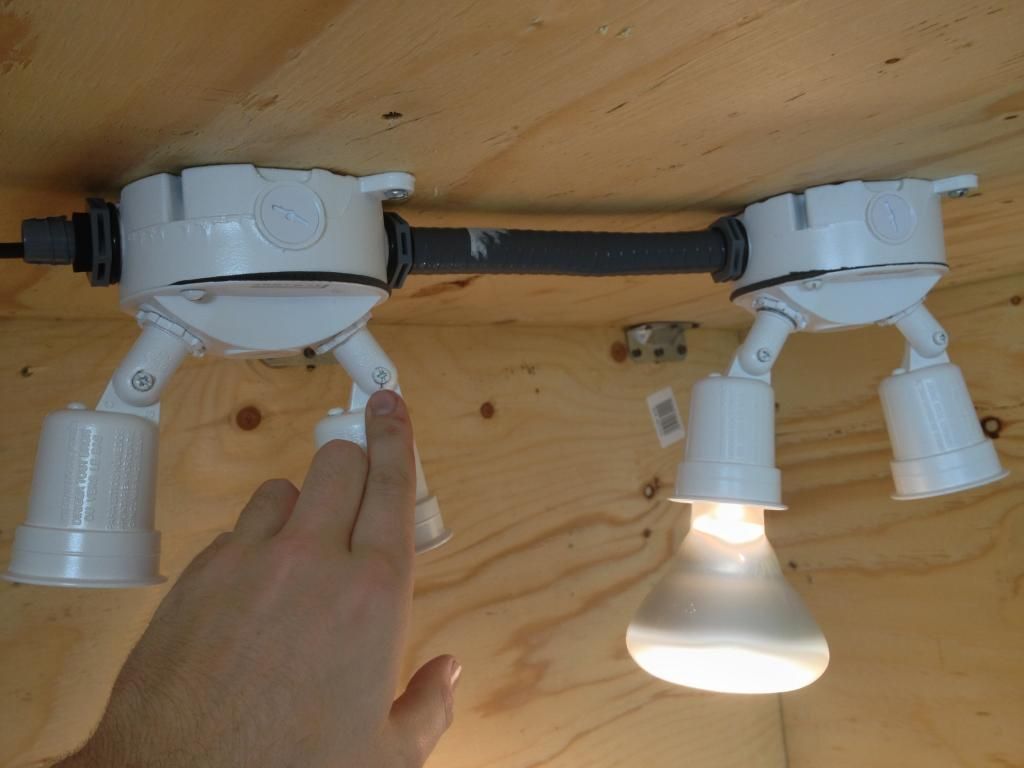
And to install butt connections between fixtures, for if you ever need to replace or move them you can without a headache.
So here is where I'm at as of now, I'll keep updating this weekend. Front frame and doors are next.
|
|
|
|
|
11-16-12, 01:26 PM
|
#22
|
|
Member
Join Date: Oct-2011
Posts: 2,237
Country:
|
Re: DIY: Monitor Enclosure
You're leaving your quick connection ends exposed within your enclosure?! That really isnt a good idea man. You can get much better waterproof connectors that hold up against humidity and corrosion, like the ones they use on boats and for outside. Id recommend the same for the ones in that joint you were showing earlier, just in case you ever get leaks past your silicone.
__________________
The plural of anecdote is not data
|
|
|
|
|
11-16-12, 01:29 PM
|
#23
|
|
Member
Join Date: Oct-2012
Posts: 242
Country:
|
Re: DIY: Monitor Enclosure
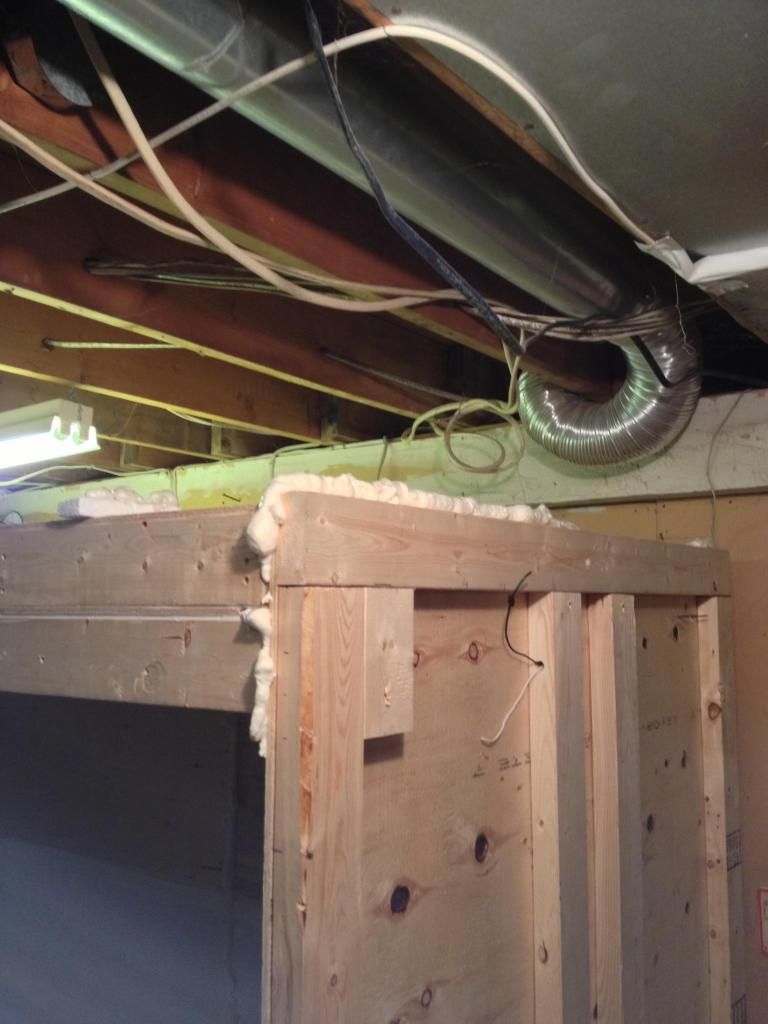
No they're not exposed, that hanging wire will be housed in a conduit and each connection will be taped up.
And the other one is taped up, left the tape off for pictures. I needed the lights up before I could buy the conduit for the wire.
|
|
|
|
|
11-16-12, 01:56 PM
|
#24
|
|
Member
Join Date: Oct-2011
Posts: 2,237
Country:
|
Re: DIY: Monitor Enclosure
Quote:
Originally Posted by War Machine
I kept my connection in my accessible joint.
|
Youre telling me that you taped this connection after this picture? Thats impressive.
Also, you mentioned before the importance of shrink wrapping the quick slide ends for waterproofing, but then you just tape the exposed connection after? That doesnt make much sense.
Im sorry for giving you a hard time, its just that you are showing a decent example of why you need someone who really knows what they are doing regarding electrical wiring, rather than just guessing yourself. Wrapping that exposed connection in electrical tape and then wrapping a split conduit around that isnt the safest bet. Since this is going in your house, Id say go as safe as possible rather than risk it, like youre doing.
__________________
The plural of anecdote is not data
|
|
|
|
|
11-16-12, 02:42 PM
|
#25
|
|
Member
Join Date: Oct-2012
Posts: 242
Country:
|
Re: DIY: Monitor Enclosure
No I appreciate the constructiveness. I'm not an electrician, and I'm not much in a position to argue.
I don't see the sense in a quick connection just to heat shrink it, that's more of a permanent gesture.
I thought you were addressing the connection at the side, I forgot about the top one, I will address that one better, perhaps use a shielded connection like you mentioned.
Why do you feel a tapped quick connect in a conduit is not a good idea? They're shielded from each other and the environment of the enclosure.
Believe me, I learn as I build these, so take what I preach with a grain of salt, I'm just sharing how I build it 
|
|
|
|
|
11-16-12, 03:01 PM
|
#26
|
|
Moderator
Join Date: May-2008
Location: Central New York State
Age: 60
Posts: 16,536
Country:
|
Re: DIY: Monitor Enclosure
If you wish to have quick connects, buy them at an auto parts store, ask for the ones used to connect a boat trailer.
Tada............
They are "bullet" connectors BTW.

__________________
"Where would we be without the agitators of the world attaching the electrodes
of knowledge to the nipples of ignorance?"
|
|
|
|
|
11-16-12, 03:12 PM
|
#27
|
|
Member
Join Date: Oct-2011
Posts: 2,237
Country:
|
Re: DIY: Monitor Enclosure
Ya, I hear you man, and your construction looks solid otherwise. Electrical work is one of those things that really has to be right if you want it to be safe though, so I appreciate you being open to this.
You can buy either a waterproof quick connect, which is just like the ones you have with a cover over them (when connected the plastic seals itself from the elements) or you can buy the type that actually have a bit of sealant that goes over the connection to make absolutely sure its safe from the elements. Both are pretty easy to get apart when you need to, dont worry.
In answer to your question, the conduit you put over those wires isnt sealed, so that same high humidity will absolutely get inside. Conduit is just meant to protect continuous wire itself, not any type of connection. Thats why legally you always have to have a connection box for any type of connection. (by the way, that flexible conduit isnt legal anymore either, but that might just be down here in the States  )
__________________
The plural of anecdote is not data
|
|
|
|
|
11-16-12, 03:13 PM
|
#28
|
|
Member
Join Date: Oct-2012
Posts: 242
Country:
|
Re: DIY: Monitor Enclosure
Good to know Wayne, thanks, I'll grab some this weekend and replace them.
I'm having a hard time finding a suitable shower door for the enclosure, or If I should go another route. Any ideas?
|
|
|
|
|
11-16-12, 03:16 PM
|
#29
|
|
Member
Join Date: Oct-2011
Posts: 2,237
Country:
|
Re: DIY: Monitor Enclosure
I have used both shower doors and windows in the past. The shower door was easier to get in and out of, but the window I find to hold the heat and humidity much better. They are already sealed, double glazed and weatherproofed, and relatively cheap nowadays. Plus you can get them in all kinds of sizes and shapes
__________________
The plural of anecdote is not data
|
|
|
|
|
11-16-12, 03:18 PM
|
#30
|
|
Member
Join Date: Oct-2012
Posts: 242
Country:
|
Re: DIY: Monitor Enclosure
Thanks for the info jarich,
I'm going to replace them all with the marine connections to ensure safety. In what context is the flex tube illegal? Commercial and residential manufacturing? Or even personal? I'm not worried about it though lol
The Home Depot rep referred me to it, so we'll hold him liable haha Jk.
|
|
|
|
| Thread Tools |
|
|
| Display Modes |
 Linear Mode Linear Mode
|
 Posting Rules
|
You may not post new threads
You may not post replies
You may not post attachments
You may not edit your posts
HTML code is Off
|
|
|
All times are GMT -6. The time now is 09:43 AM.
Powered by vBulletin®
©2000 - 2025, Jelsoft Enterprises Ltd.

Copyright © 2002-2023, Hobby Solutions.
|
 |


